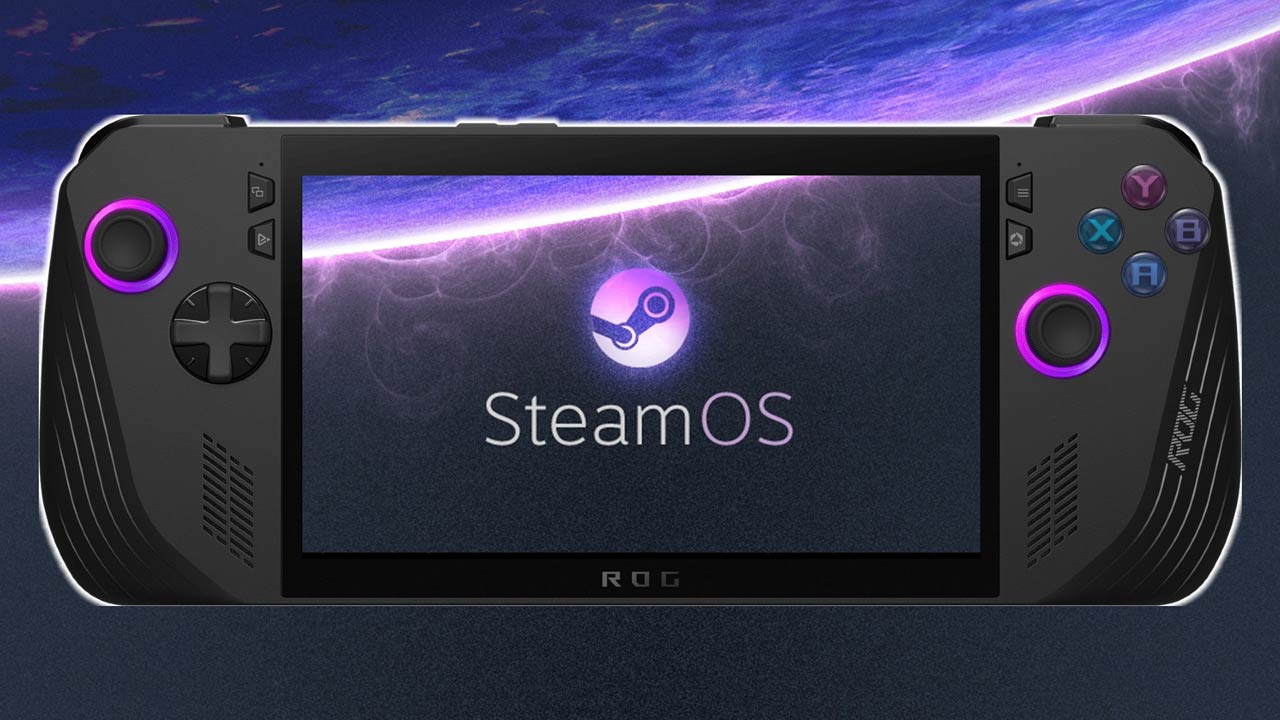
SteamOS has become one of the most popular gaming operating systems because of the clean interface, controller-friendly design, and excellent gaming performance.
While it was originally developed for the Steam Deck, SteamOS is now finding its way onto more handheld gaming PCs
It’s giving users a lightweight Linux-based operating system built specifically for gaming.
One of the things people love about SteamOS is its flexibility. You can have a cleaner home screen, better performance, custom themes, or additional software; there are plenty of ways to personalize your experience, and that too without compromising stability.
In this guide, we’ll cover everything you need to know about customizing SteamOS, from changing the interface to installing plugins and tweaking performance settings.
Why Customize SteamOS?
Out of the box, SteamOS offers an excellent user experience, but customization can make it even better.
Customizing SteamOS allows you to improve game organization, add missing features, optimize battery life, and increase gaming performance.
The best part is that many of these changes don’t require advanced Linux knowledge either.
Update SteamOS First
Before making any changes, make sure SteamOS is fully updated.
To update it, follow these steps:
- Open Settings.
- Navigate to System.
- Select Check for Updates.
- Install any available updates.
- Restart the system.
Keeping SteamOS updated ensures better compatibility with plugins and customization tools.
Customize Your Steam Library
One of the easiest ways to personalize SteamOS is by organizing your game library, and the process is simple to do directly within Gaming Mode.
You can do it by following these steps:
- Press the Steam button and go to your Library.
- Highlight a game, press the Options button (three dots), and select Add to Collection to create or assign it to a custom group.
- To hide a game, open its Options menu and choose Manage > Hide this game.
- To change artwork, install the SteamGridDB plugin via Decky Loader, then open a game’s Options menu and select Change Artwork to browse community designs.
- You can also manually set custom images in Desktop Mode by right-clicking a game in Steam, selecting Manage > Set Custom Artwork, and uploading your own files.
These tools make it easy to organize your library visually and functionally. You can give your entire collection a consistent style and make navigation faster and more enjoyable.
Install Decky Loader
Decky Loader is considered one of the most essential customization tools for SteamOS.
It adds a plugin system that allows you to expand SteamOS with new features while keeping everything integrated into Gaming Mode.
To install Decky Loader:
- Switch to Desktop Mode.
- Open a web browser.
- Go to the official Decky Loader GitHub page.
- Download the installer script.
- Run the installer and follow the on-screen instructions.
- Restart your device or return to Gaming Mode.
Once installed, Decky Loader will appear in the Quick Access menu, and you can manage plugins directly from Gaming Mode.
You can try these popular plugins with Decky Loader to further customize your SteamOS
CSS Loader
CSS Loader allows custom themes for SteamOS; you change colors, fonts, home screen layout, menu appearance, icons, transparency, and animations. If you want to personalize your interface, CSS Loader is one of the best plugins available.
ProtonDB Badges
ProtonDB Badges shows game compatibility ratings directly inside your Steam library. Instead of searching online, you’ll immediately know how well a game runs on SteamOS.
SteamGridDB
SteamGridDB automatically downloads custom artwork for your games, including cover art, hero images, icons, and logos. It’s perfect if you want a polished library.
Storage Cleaner
This Plugin quickly identifies unnecessary shader cache and temporary files that consume storage. It’s very useful for handhelds with limited SSD capacity.
System Toolbox
System Toolbox adds shortcuts for power controls, Bluetooth toggles, Wi-Fi settings, and quick system restarts that you use without leaving Gaming Mode.
Customize Performance Profiles
SteamOS includes built-in performance controls. Press the Quick Access button and open the Performance menu.
You can customize all of these settings in there:
- Refresh Rate
- Frame Rate Limit
- TDP
- GPU Clock
- Scaling Mode
- Performance Overlay
- Fan Settings (supported devices)
Creating separate profiles for each game can dramatically improve battery life.
For example: AAA games may benefit from a 40 FPS cap while Indie games can often run perfectly at lower TDP settings, extending battery life by several hours.
Adjust Display Settings
SteamOS offers several display options. To access display settings in SteamOS, open Settings from the main menu, then navigate to Display.
You can modify these settings there:
- Brightness
- HDR (supported hardware)
- Resolution
- Refresh Rate
- External Display settings
- Color temperature (supported devices)
You can lower the refresh rate during lighter games to noticeably improve battery life.
Use Desktop Mode
Desktop Mode unlocks the full Linux desktop behind SteamOS, allowing you to install browsers, edit files, install emulators, use productivity software, install launchers, and access Linux applications.
To access it, press the Steam button, go to Power, and select Switch to Desktop. Desktop Mode greatly expands what SteamOS can do beyond gaming.
Install Non-Steam Launchers
SteamOS supports adding external launchers. You can add Epic Games Store, GOG Galaxy, Heroic Games Launcher, Lutris, Battle.net, Ubisoft Connect, EA App, and more.
To install external launchers on SteamOS, you’ll need to use Desktop Mode. Follow these steps:
- Press the Steam button and select Power, then choose Switch to Desktop.
- Open a web browser such as Firefox.
- Download the installer for your preferred launcher (for example, Epic Games Store or Battle.net).
- Open Steam in Desktop Mode.
- Click Add a Game in the bottom-left corner and select Add a Non-Steam Game.
- Browse to the downloaded installer file and add it to your library.
- Launch the installer through Steam and follow the on-screen instructions.
- Once installed, locate the launcher’s executable file and add it to Steam as a Non-Steam Game.
- Return to Gaming Mode by clicking the desktop icon or restarting the device.
After installation, these launchers can be accessed directly from Gaming Mode. it allows you to play games outside your Steam library.
Customize Startup Movies
SteamOS allows custom boot animations, giving users the ability to personalize the startup experience of their device. Here is a step-by-step guide to installing a custom boot animation:
- Switch to Desktop Mode
- Download a Boot Animation or find a boot animation video online (commonly in .webm format) or create your own. Make sure the file is compatible with SteamOS.
- Locate the Boot Animation Folder – Open the file manager and navigate to the SteamOS boot animation directory. This is typically found at: /home/deck/.steam/root/config/uioverrides/movies/ (If the folder does not exist, you can create it manually.)
- Copy the Video File
- (Optional) Use Decky Loader for Easier Setup- Install Decky Loader if you haven’t already, then install a plugin like “Animation Changer.”
- Open the Quick Access menu, go to the plugin section, and use the plugin interface to browse and install boot animations automatically.
- Reboot your SteamOS device to see the new boot animation in action.
These animations can include animated startup videos, community-made intros, game-themed boot sequences, or retro console-style intros.
Install Custom Fonts and Icons
If you’re looking for a more personalized interface, SteamOS also supports custom fonts and icons through themes and plugins.
This can completely change the appearance of menus, the library, notifications, and the navigation interface.
Many community themes recreate the look of classic gaming consoles or modern desktop interfaces.
To customize fonts and icons, follow these steps:
- Install Decky Loader
- Open the Quick Access menu and navigate to the Decky plugin store.
- Install the CSS Loader plugin.
- Browse available themes within CSS Loader or download themes from trusted community sources.
- Enable your chosen theme from the plugin menu.
- Restart SteamOS or reload the interface if required.
Once applied, your new fonts and icons will be visible across the system interface.
Improve Battery Life
Customization isn’t only about appearance. Performance tuning can significantly increase battery life.
- Reduce screen brightness: Press the Quick Access button, go to the brightness slider, and lower it to a comfortable level.
- Lower refresh rate: Open the Performance menu and set the refresh rate to 40Hz or 60Hz depending on your needs.
- Cap FPS: In the same Performance menu, enable the frame rate limiter and choose a cap like 30 or 40 FPS.
- Reduce TDP: Enable TDP limit and lower the wattage gradually until you find a balance between performance and battery life.
- Disable unused wireless features: Turn off Wi-Fi or Bluetooth from the system settings when not in use.
- Close background applications: Exit any unnecessary apps or overlays running in the background.
- Use FSR or other upscaling methods: Enable scaling options in the Performance menu to maintain visual quality while reducing system load.
For many indie and retro games, these tweaks can add several extra hours of gameplay.
Customize Controller Settings
Steam Input is one of SteamOS’ best features. Every game can have unique controller layouts.
To customize controller settings:
- Open your game in SteamOS.
- Press the Steam button.
- Select Controller Settings.
- Choose Edit Layout.
From here, you can remap buttons, adjust stick sensitivity, change trigger response, configure gyro aiming for motion-based controls, create touchpad shortcuts for quick actions, and build custom action sets for different gameplay scenarios.
You can also browse and apply community profiles by selecting Browse Configs, where thousands of user-created layouts are available for popular games.
Enable Performance Overlay
SteamOS includes one of the most useful built-in performance monitoring tools. To enable and use the built-in performance overlay in SteamOS, follow these steps:
- Press the Quick Access button (the three-dot button on the right side of your device).
- Navigate to the Performance tab (battery icon).
- Scroll down to the Performance Overlay Level setting.
- Choose a level from 1 to 4:
- Level 1 shows basic FPS information.
- Level 2 adds frame time and basic system stats.
- Level 3 includes CPU and GPU usage.
- Level 4 displays full detailed metrics like temperatures, power draw, and more.
- Close the menu to see the overlay appear on your screen.
You can adjust or disable the overlay at any time by returning to the same menu.
Be Careful with Advanced Linux Tweaks
While SteamOS is highly customizable, avoid making unnecessary system-level changes unless you’re familiar with Linux.
Editing core system files, installing unsupported packages, or disabling essential services can cause instability or be overwritten by future SteamOS updates.
If you want to experiment, it’s a good idea to back up important data first and rely on trusted community guides.
SteamOS is already one of the most polished gaming operating systems available, but its true potential lies in how much you can tailor it to your preferences.
From custom themes and startup animations to performance profiles, controller layouts, and expanded game launcher support, there are countless ways to create a setup that matches your gaming style.