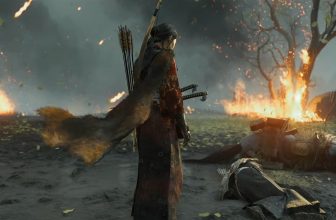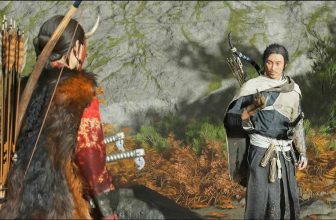
The Nature of War is the final Main Tale in Ghost of Yotei: Echoes of Sekigahara. In this quest, Atsu must defend Ashoro Springs against the Vipers in a large-scale battle involving three waves of enemies.
Each wave features a named boss backed by regular enemies, and you must defeat every enemy before progressing to the next stage.
You will face three bosses: Masazo the Stained, Tsurube the Insane, and Sakuzo the Calm. Each opponent uses different weapons and attack patterns, so switching weapons and adjusting your approach is essential to surviving the battle.
This guide covers how to complete The Nature of War, including the best weapons to use against each boss, how to avoid their dangerous attacks, and how to finish the final battle.
How to Unlock The Nature of War
Before starting The Nature of War, you must complete the Dream’s End Main Tale and all six Ashoro Foothills bounties.
The required bounties are Umakichi the Bear Slayer, Bunzaemon the Butcher, Lady Kitami, Imai the Faceless, Munetaka the Horse Thief, and Nobushige the Unbreakable.
Once these requirements are complete, return to Kojiro at the Ashoro Springs bounty board to begin the final mission.
Make sure you have replenished your healing supplies and equipped your preferred armor before starting the battle.
The Nature of War Walkthrough
Step 1: Prepare for the Battle of Ashoro Springs
The mission begins with the Vipers attacking Ashoro Springs. You must defend the settlement by defeating three groups of enemies, each led by a different boss.
Every wave contains a boss and several regular enemies. Defeating the boss alone is not enough to advance; you must eliminate all the remaining enemies in that wave as well.
It is important to clear out the regular enemies before concentrating on the boss.
Fighting a powerful opponent while several other enemies attack from behind makes it much harder to dodge, parry, and counterattack.
You can also use the flaming barrels scattered around the battlefield to deal additional damage.
Lure enemies near a barrel and press R2 to signal an ally to shoot it. The resulting explosion sets nearby enemies on fire, helping you thin out the crowd before focusing on the boss.
Step 2: Defeat Masazo the Stained
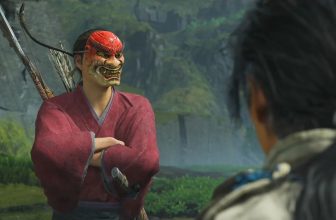
Masazo the Stained is the first boss you encounter during the defense of Ashoro Springs. He wields a katana and kusarigama and can also throw dust into Atsu’s eyes to disrupt her vision.
Although Masazo joins the fight early, avoid engaging him immediately if several regular enemies are still alive.
Clear the surrounding attackers first, then concentrate on learning his moves and exploiting his openings.
Recommended weapons: Use your katana against Masazo’s katana and switch to the yari when he uses his kusarigama.
Masazo the Stained’s Attacks and Counters
Kusarigama Fire Slice: Masazo pulls his kusarigama over his head before swinging the weapons down and setting them on fire.
He then lunges forward with a fiery slash, sometimes following it with additional attacks. Watch his wind-up and dodge away from the incoming strike. Do not rush back in until the follow-up sequence ends.
Kusarigama Whirlwind: Masazo spins his kusarigama in circles, potentially performing up to three rotations.
Keep your distance while he spins rather than trying to interrupt the attack. Move back into range after the final rotation.
Dust Cloud: Masazo bends down, scoops up dust, and throws it into your eyes.
This is an unblockable attack indicated by a red glint. Sprint away as soon as you recognize the animation to avoid the dust cloud and the resulting loss of visibility.
Disarm: When Masazo’s weapon flashes yellow, he is preparing to disarm you.
Hold and release Triangle when close to counter the move and force him to drop his weapon temporarily. Use the opening to land a few attacks.
Katana Slash: Masazo can chain several katana slashes together; it’s dangerous to attack him in the middle of his combination. Focus on avoiding or parrying the sequence and retaliate after his final swing.
Backwards Katana Swing: Masazo spins his katana in his hand before wrenching it upward in a backward swing. Dodge sideways when you see the animation begin rather than retreating directly backward.
Best Strategy Against Masazo
Masazo becomes easier to handle once the battlefield is clear of regular enemies.
Pay attention to his kusarigama attacks because their extended range and fiery follow-ups can catch you while you are trying to close the distance.
Switch to the yari when he relies on his kusarigama, and use your katana when he returns to sword attacks.
Avoid long attack combinations until he finishes his own moves, and use the opening created by a successful Disarm counter to deal damage safely.
Once Masazo and every remaining enemy in the first wave are defeated, the second wave begins.
Step 3: Defeat Tsurube the Insane
Tsurube the Insane leads the second wave of enemies. He is equipped with a spear and katana, and he can also throw fire and use dust to impair your vision.
Lady Kitami and her crew join the battle during this encounter, providing assistance against Tsurube and the surrounding Vipers.
Nevertheless, you should still eliminate the weaker enemies before focusing on the boss whenever possible.
Recommended weapons: Use your dual blades against Tsurube’s spear and your katana against his katana.
Tsurube the Insane’s Attacks and Counters
Spear Slash: Tsurube raises his spear above his head before bringing it down in a powerful slash. This attack is unblockable, so dodge to either side when he begins the downward swing.
Fire Toss: Tsurube throws fire toward Atsu. Watch for the red glint that signals the incoming attack and move out of its path.
Avoid remaining in the same position for too long, especially when regular enemies are still nearby.
Dust Cloud: Like Masazo, Tsurube can scoop up dust and throw it into your eyes.
The red glint signals that the attack is coming. Sprint away immediately to avoid the cloud and prevent your vision from being obstructed.
Katana Slice: Tsurube holds his katana behind his left arm before charging forward and slashing when he gets close.
Dodge sideways to avoid his forward movement and counterattack after he finishes the strike.
Katana Stab: Tsurube pulls his katana back horizontally before lunging forward with a thrust.
A sideways dodge is the safe choice because moving directly backward may not provide enough distance to escape the attack.
Bow Shot: Tsurube can also use a bow and arrow, although he does not rely on it as frequently during close-range combat.
Keep moving if he creates distance, and avoid standing still while he aims.
Disarm: A yellow glint signals Tsurube’s attempt to disarm you. Hold and release Triangle when close to counter the move and create an opening for a follow-up attack.
Best Strategy Against Tsurube
Tsurube is particularly dangerous when he combines his spear attacks with fire and dust.
His unblockable moves require you to prioritize dodging over attacking, so do not try to trade hits when he begins a powerful animation.
Use your dual blades against his spear and switch back to your katana when he draws his sword.
Lady Kitami and her crew help keep pressure off you, but clearing the remaining Vipers is still important because they can interrupt your attacks and punish mistakes.
After defeating Tsurube and every other enemy in the second wave, prepare for the final encounter.
Step 4: Defeat Sakuzo the Calm
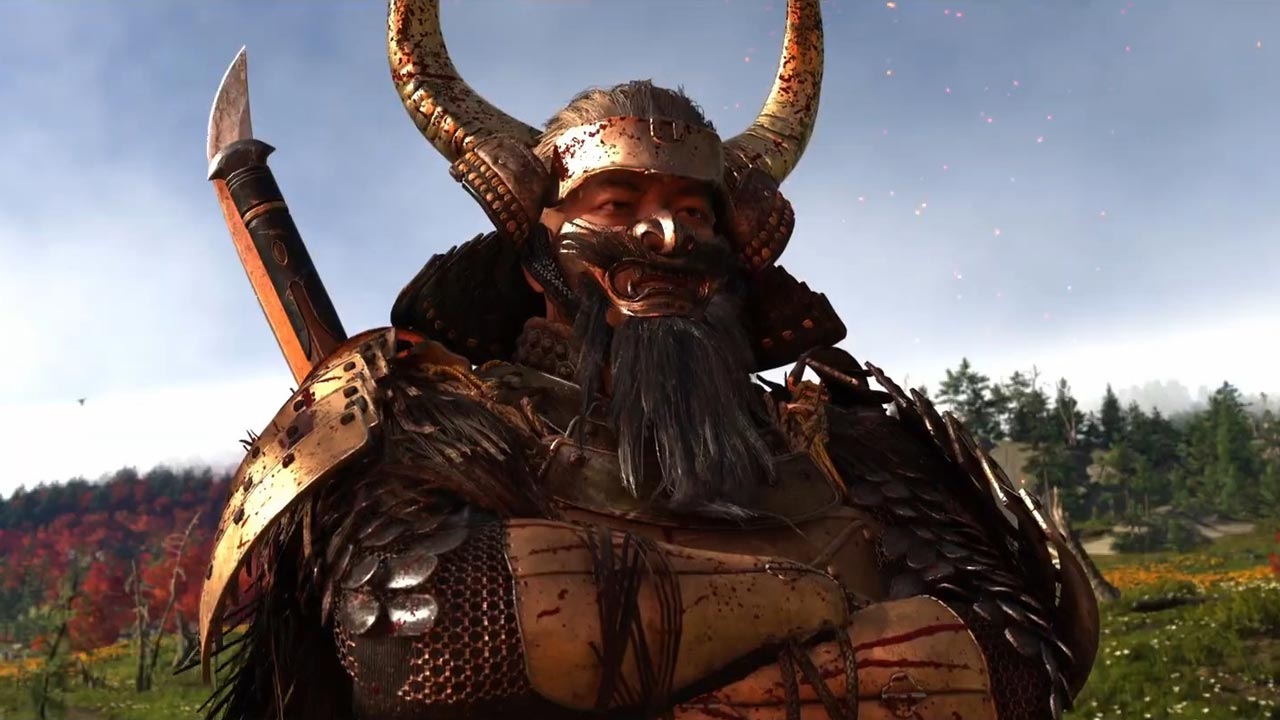
Sakuzo the Calm is the third and final boss in The Nature of War.
Unlike the previous two opponents, Sakuzo uses heavy weapons, including a naginata and a massive axe. His attacks cover a wide area and can inflict significant damage if you fail to evade them.
The final wave begins with a standoff. Hold Triangle and observe Sakuzo’s movements carefully.
Release Triangle when he makes his move to defeat the enemies in the opening standoff sequence.
Wolves and bears also join the battle during this wave, giving you additional assistance against Sakuzo and his forces.
Even with their help, be cautious when approaching Sakuzo because his heavy attacks can punish you for staying too close.
Recommended approach: Prioritize dodging Sakuzo’s heavy attacks and use the openings after his animations to retaliate. Do not attempt to interrupt his longest combinations.
Sakuzo the Calm’s Attacks and Counters
Naginata Slash: Sakuzo raises his naginata before bringing it down in a diagonal slash.
Dodge backward to create distance from the attack, then move in after he completes the animation.
Upward Slash: Sakuzo drives the tip of his blade into the ground before wrenching it upward.
The rising attack can catch you if you approach too early, so wait until the motion is finished before counterattacking.
Infinity Slice: Sakuzo swings his naginata in a figure-eight pattern before performing a series of spinning attacks.
The move covers a wide area and is difficult to avoid at close range. Sprint away until the entire sequence ends.
Axe Tornado: When Sakuzo switches to his massive axe, he can spin it around himself up to five times.
This attack is unblockable and deals heavy damage. Sprint out of range as soon as the spinning animation begins, and do not approach again until the attack is over.
Horizontal Swing: Sakuzo performs a powerful horizontal axe swing. Since the attack is unblockable, dodge to avoid the weapon’s path instead of trying to parry it.
Disarm: When Sakuzo’s weapon flashes yellow, he is preparing to disarm you. Hold and release Triangle at close range to counter the move and force him to drop his weapon temporarily.
Best Strategy Against Sakuzo
Sakuzo’s heavy weapons make him the most dangerous opponent to approach carelessly.
His naginata attacks have substantial reach, while the massive axe’s spinning attacks cover a wide area.
Stay mobile and prioritize survival whenever he begins a long attack sequence.
Dodging or sprinting away from the Infinity Slice and Axe Tornado is more reliable than attempting to attack through them.
Use the openings after his attacks to land short combinations before returning to a defensive position.
The wolves and bears provide useful support, so take advantage of the opportunities they create rather than constantly charging Sakuzo yourself.
Once Sakuzo and all remaining enemies in the third wave are defeated, Ashoro Springs is liberated, and the Echoes of Sekigahara story concludes.
Tips for Completing The Nature of War
Eliminate regular enemies before the boss. This is the most important rule throughout the mission. Removing weaker enemies reduces distractions and makes it easier to read each boss’s attack animations.
Use the flaming barrels. Draw enemies toward the barrels scattered around the battlefield and press R2 to have an ally shoot them. The fire damage can weaken multiple opponents before you engage the boss.
Switch weapons according to the boss’s equipment. The katana and yari are useful against Masazo, while dual blades and the katana are recommended against Tsurube.
Against Sakuzo, focus on evading his heavy-weapon attacks and retaliating during recovery windows.
Use your allies. Lady Kitami and her crew assist during Tsurube’s wave, while wolves and bears join the final battle against Sakuzo. These allies help reduce pressure during the encounters.
Manage your healing supplies. The mission requires you to survive three consecutive waves. Avoid taking unnecessary damage during the first two encounters so that you have enough resources for the final boss.
The Nature of War Rewards
Completing The Nature of War liberates Ashoro Springs and concludes the Echoes of Sekigahara storyline.
You also unlock the No More Snakes Bronze trophy for completing the required story progression.
Make sure you have completed all six Ashoro Foothills bounties before attempting to start the final mission, as they are part of the quest’s prerequisites.
The Nature of War brings the Echoes of Sekigahara expansion to a close with three distinct boss encounters.